EventMesh Store with Docker
If you choose standalone mode, you could skip this file and go to the next step: Start Eventmesh-Runtime; if not, you could choose RocketMQ as the store layer.
1. Dependencies
64-bit OS,we recommend Linux/Unix;
64-bit JDK 1.8+;
Gradle 7.0+, we recommend 7.0.*
4g+ available disk to deploy eventmesh-store
2. Deploy
2.1 Pull Images
Pull RocketMQ image from Docker Hub:
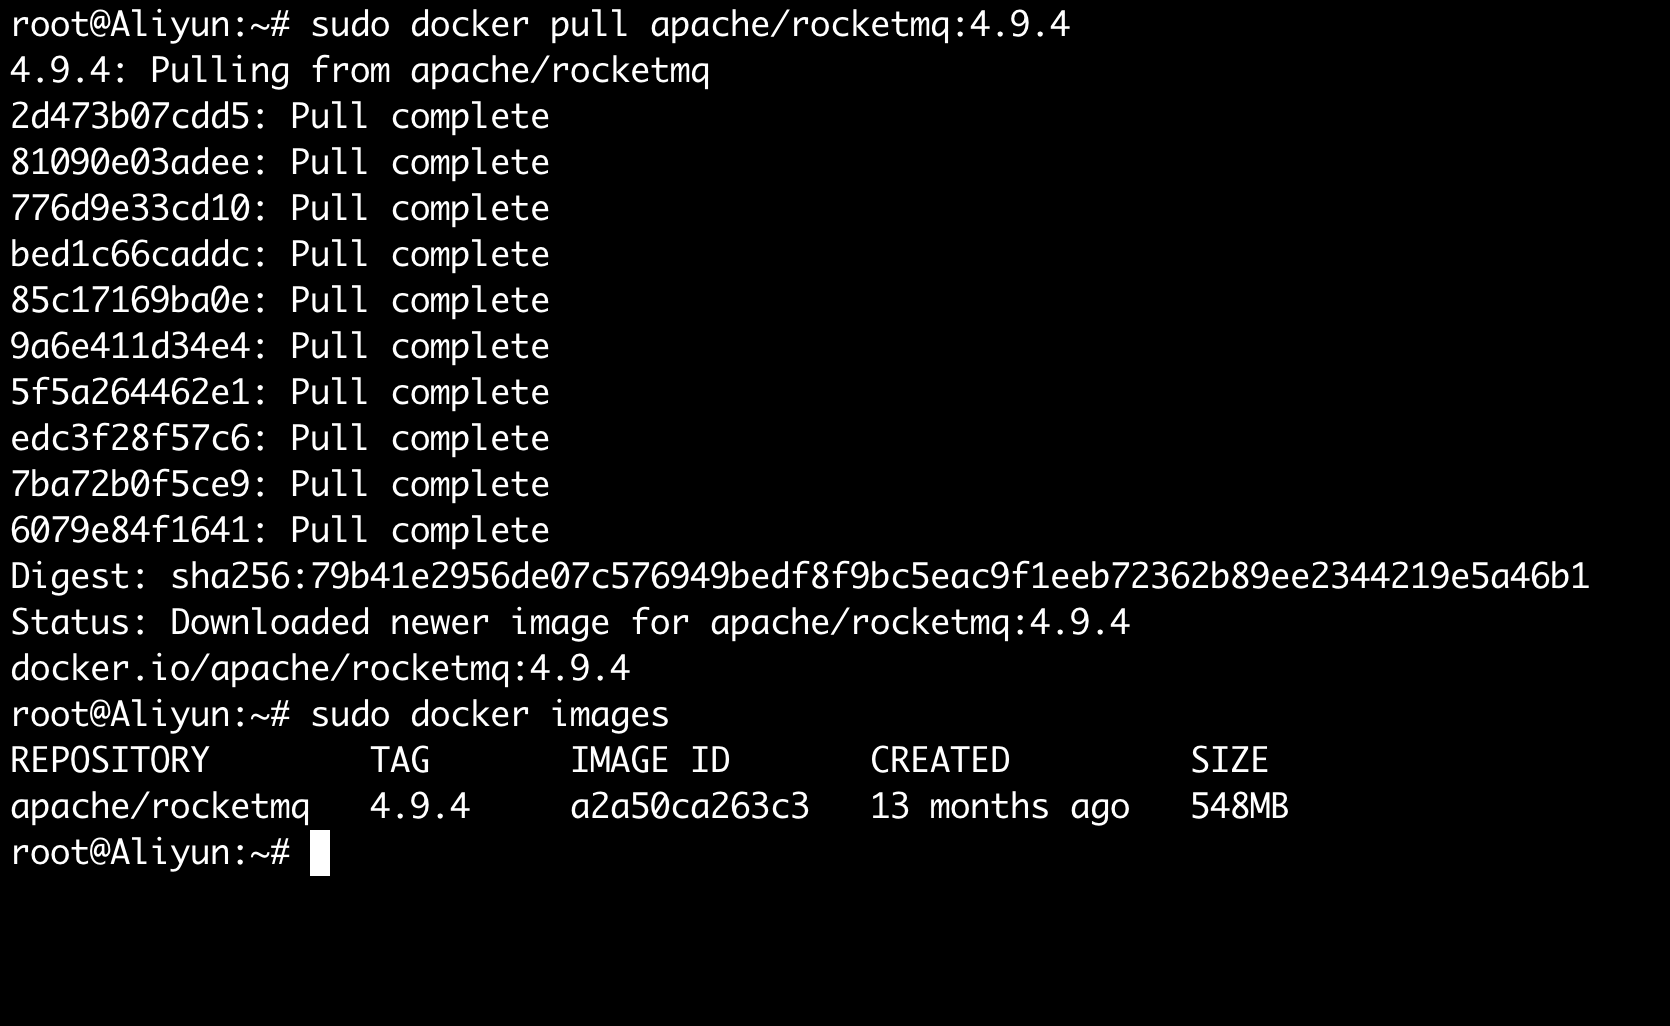
#Pull rocketmq image
sudo docker pull apache/rocketmq:4.9.4
You can list and view existing local mirrors with the following command:
sudo docker images
If the terminal displays the image information as shown below, the EventMesh image has been successfully downloaded locally.
REPOSITORY        TAG       IMAGE ID       CREATED         SIZE
apache/rocketmq   4.9.4     a2a50ca263c3   13 months ago   548MB
2.2 Run Docker
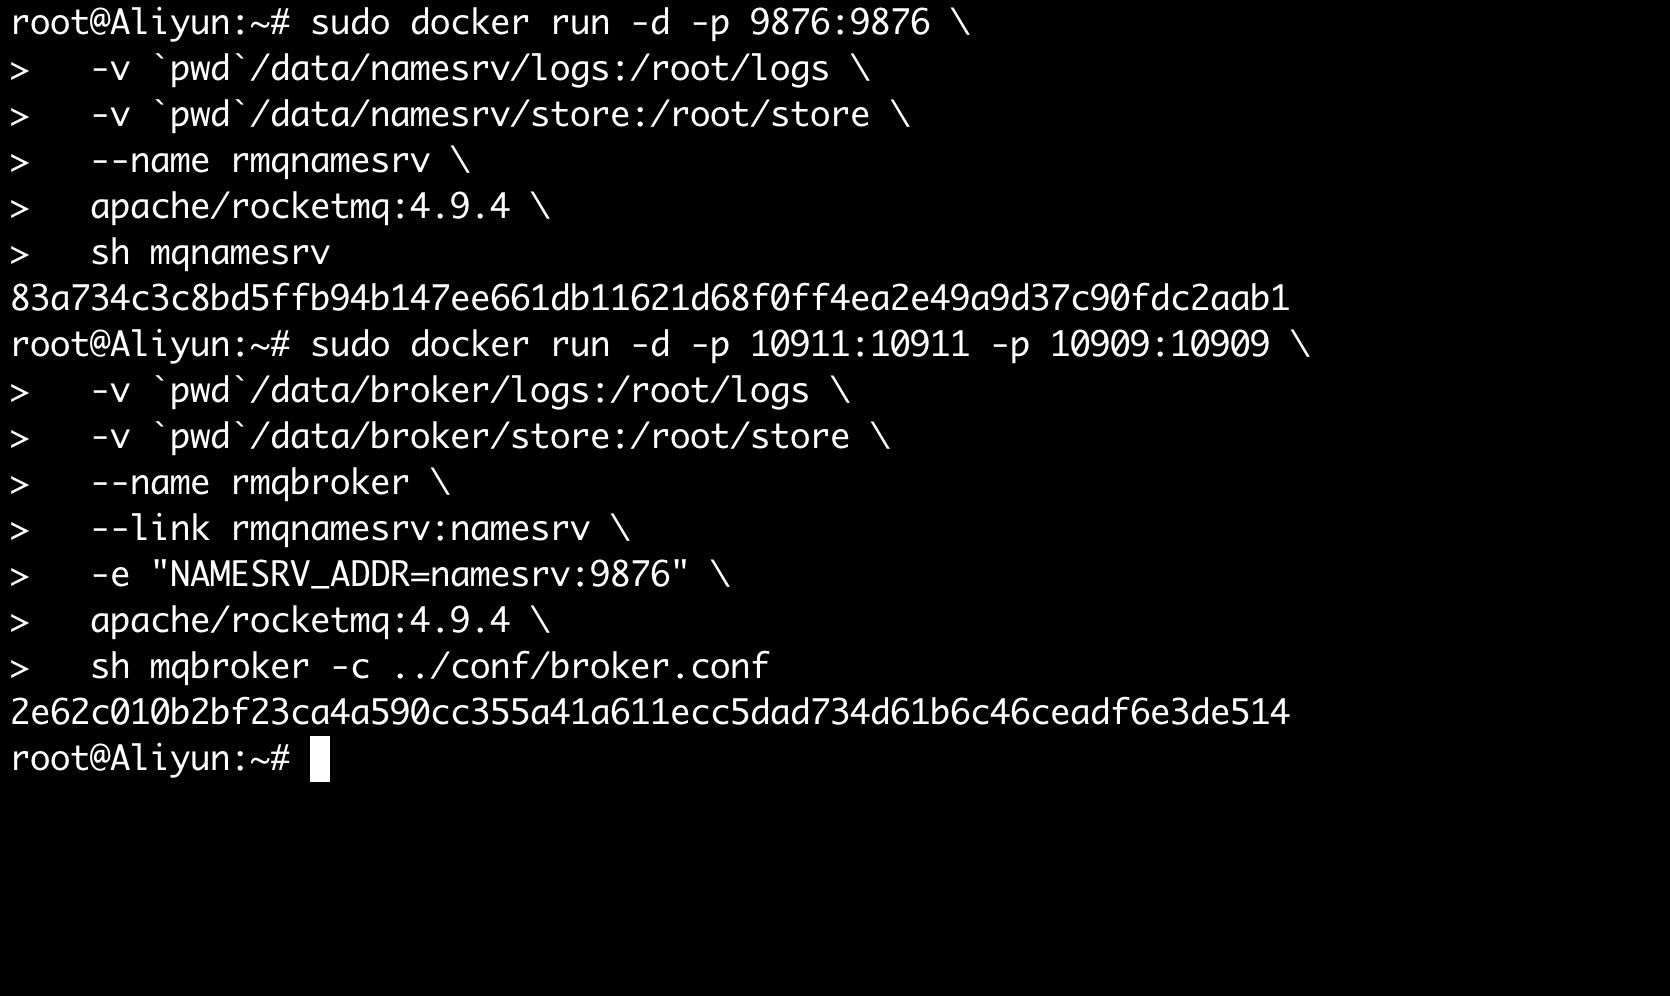
Run namerv container:
sudo docker run -d -p 9876:9876 \
  -v `pwd`/data/namesrv/logs:/root/logs \
  -v `pwd`/data/namesrv/store:/root/store \
  --name rmqnamesrv \
  apache/rocketmq:4.9.4 \
  sh mqnamesrv
Run broker container:
sudo docker run -d -p 10911:10911 -p 10909:10909 \
  -v `pwd`/data/broker/logs:/root/logs \
  -v `pwd`/data/broker/store:/root/store \
  --name rmqbroker \
  --link rmqnamesrv:namesrv \
  -e "NAMESRV_ADDR=namesrv:9876" \
  apache/rocketmq:4.9.4 \
  sh mqbroker -c ../conf/broker.conf
Please note that the rocketmq-broker ip is pod ip. If you want to modify this ip, you can set it your custom value in broker.conf。
By now, the deployment of eventmesh-store has finished, please go to the next step: Start Eventmesh-Runtime Using Docker